Coinciding with the need for precision and expertise, the DIY guide to replacing car panels offers a comprehensive approach to addressing vehicle damage.
This article provides a detailed roadmap, encompassing tools required, assessment of panel damage, step-by-step procedures for removal and installation, as well as essential techniques for seam sealing, rust prevention, and finishing touches.
With a focus on technical proficiency and meticulous execution, this guide equips enthusiasts with the knowledge to restore their vehicles with confidence.
Tools and Materials Needed
When replacing car panels, it is essential to have the appropriate tools and materials for a successful and professional outcome. Panel replacement can be a cost-effective solution for addressing cosmetic or structural damage to a vehicle. Estimating the cost of panel replacement involves considering the price of the new panel, labor costs if professional help is sought, and any additional materials required for the task.
Panel repair can be approached as a do-it-yourself (DIY) project or with the assistance of a professional. DIY enthusiasts may opt to purchase the necessary tools and materials, such as body filler, sandpaper, and a welding machine if the damage requires welding, to undertake the panel replacement themselves. However, professional help ensures a high-quality and precise repair, particularly for complex or extensive damage. Professional technicians possess the expertise and specialized tools required to accurately assess the extent of the damage, select the appropriate replacement panel, and execute the repair with meticulous attention to detail.
Assessing Panel Damage
Before beginning the process of replacing car panels, it is crucial to thoroughly assess the extent of the damage.
This involves identifying rust spots, checking for dents, and evaluating paint damage.
Each of these points plays a critical role in determining the necessary steps for panel replacement.
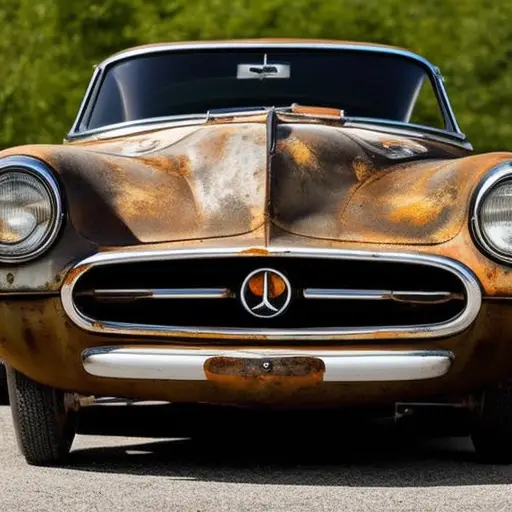
Identifying Rust Spots
The identification of rust spots on car panels is a crucial step in assessing the extent of panel damage. Rust prevention techniques are essential to maintaining the structural integrity of car panels.
When inspecting for rust spots, it is important to look for bubbling or flaking paint, as these are often indicative of underlying rust. Rust repair products such as rust converters and rust inhibitors can be used to treat minor rust spots.
However, if the rust damage is extensive or has compromised the integrity of the panel, it may be necessary to opt for professional panel replacement. Automotive restoration specialists can provide expertise in identifying and addressing rust spots, ensuring the longevity and safety of the vehicle.
Checking for Dents
To properly assess panel damage, it is essential to check for dents and dings that may have affected the structural integrity of the car panels. When examining the car for dents, it’s important to be thorough, checking all panels including the hood, doors, fenders, and trunk.
Even minor dents can compromise the overall strength of the vehicle’s body. Dent repair techniques vary depending on the severity of the damage. Some small dents can be remedied through DIY methods such as using a plunger or specialized dent removal tools. However, for more substantial dents, it is advisable to seek professional dent removal services.
Professional technicians possess the expertise and tools necessary to effectively repair dents without causing further damage to the panels, ensuring the structural integrity of the vehicle is maintained.
Evaluating Paint Damage
When evaluating paint damage as part of assessing panel damage, it is crucial to scrutinize the surface for scratches, chips, and discoloration, as these issues can indicate underlying structural harm.
Scratches and chips can compromise the protective layer of paint, leaving the underlying metal vulnerable to rust and corrosion. Discoloration, especially in localized areas, may suggest previous repair work or exposure to environmental elements.
Close examination of the paint’s condition is essential for determining the extent of damage and selecting appropriate repair techniques. Minor scratches and chips may be addressed with touch-up paint, while more extensive damage could require professional repainting or panel replacement.
Understanding the nuances of paint damage evaluation is fundamental to ensuring the comprehensive restoration of car panels.
Removing Old Panels
Removing old panels involves carefully assessing the attachment points and using appropriate tools for controlled disassembly. Before starting, ensure the workspace is well-lit and clear of any obstructions. It’s important to take safety precautions, such as wearing safety goggles and gloves to protect against sharp edges and debris.
Begin by locating the fasteners and clips holding the panel in place. Use a trim removal tool to gently pry the panel away from the frame, taking care not to force it and cause damage. For panels secured by adhesive, a heat gun can help soften the glue for easier removal.
As you work, keep track of the fasteners and clips removed in order to ensure they can be replaced correctly during reassembly. Take note of any electrical connections for power windows, locks, or speakers, and carefully detach them to avoid damage. Once the panel is free, inspect the attachment points for any corrosion or damage that may need to be addressed before the new panel is installed.
With the old panel removed, the next step is preparing the new panels for installation.
Preparing New Panels
When preparing new panels for replacement, it is crucial to choose the correct panel that matches the make and model of the vehicle.
Additionally, the proper removal of the old panel and the alignment of the new panel are essential steps to ensure a seamless fit and finish.
These points will be discussed in detail to provide a comprehensive understanding of the panel replacement process.
Choosing Correct Panel
Selecting the appropriate replacement panels is a crucial step in preparing for the car panel replacement process. When choosing the correct panel, consider the following:
-
Panel material options:
-
Steel: Known for its durability and strength, making it suitable for high-impact areas.
-
Aluminum: Lightweight and corrosion-resistant, ideal for enhancing fuel efficiency.
-
Fiberglass: Offers flexibility and is commonly used in aftermarket body kits.
-
Panel size considerations:
-
Ensure the replacement panel matches the exact dimensions of the original panel to guarantee a seamless fit.
-
Take into account any modifications or customization needed for the new panel to align with the vehicle’s specific requirements.
These factors are essential in ensuring a successful panel replacement that aligns with the vehicle’s original design and structural integrity.
Now, let’s move on to the subsequent section about ‘removing old panel’.
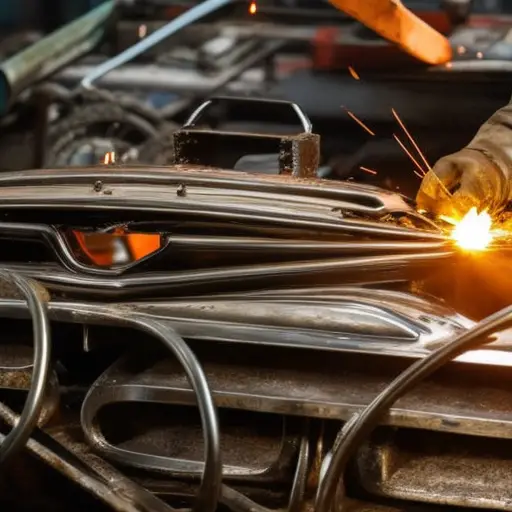
Removing Old Panel
First, carefully inspect the damaged panel to assess the extent of the repair needed. Once the extent of damage is determined, choose the appropriate panel removal technique. Common techniques include using a spot weld cutter, drill, or cutting wheel to carefully detach the damaged panel from the vehicle’s frame. It’s crucial to exercise caution and precision during this process to avoid causing further damage to the surrounding areas.
After the old panel has been removed, prepare the new panel by ensuring it matches the dimensions and specifications of the original part. When considering panel replacement options, it’s important to select a high-quality replacement panel that matches the vehicle’s make and model. Properly preparing the new panels ensures a smoother transition into the subsequent section about proper panel alignment.
Proper Panel Alignment
To ensure proper panel alignment when preparing new panels, it is essential to carefully measure and align the replacement panel with the vehicle’s existing structure. Achieving precise alignment requires attention to detail and a methodical approach.
Here are some key steps to help achieve proper panel alignment:
- Use precision measuring tools such as calipers and rulers to ensure accurate alignment.
- Professional services often employ specialized alignment jigs and laser measurement systems to achieve perfect panel alignment.
- Secure the replacement panel in place with temporary fasteners to test the fit before final installation. This step ensures that any necessary adjustments can be made before the panel is permanently attached to the vehicle’s structure.
Next, we will delve into the process of ‘Installing New Panels’ to complete the panel replacement process.
Installing New Panels
When replacing car panels, it is essential to ensure that the new panels are carefully aligned and securely fastened to maintain the structural integrity of the vehicle. Proper panel installation is crucial for the safety and aesthetics of the car. Here are some panel installation tips and techniques to consider:
| Panel Installation Tips | Paint Matching |
|---|---|
| Ensure proper fit | Match color |
| Securely fasten panels | Blend tones |
| Use quality fasteners | Finish with clear coat |
Additionally, seam sealing techniques and rust prevention strategies are vital to prolong the lifespan of the replaced panels. Seam sealers help to prevent water and debris from causing corrosion, while rust prevention coatings provide an added layer of protection.
By following these guidelines, you can ensure that the newly installed panels are not only aligned correctly and securely fastened but also protected against rust and corrosion.
Moving forward, let’s delve into the importance of seam sealing and rust prevention in maintaining the longevity of the replaced car panels.
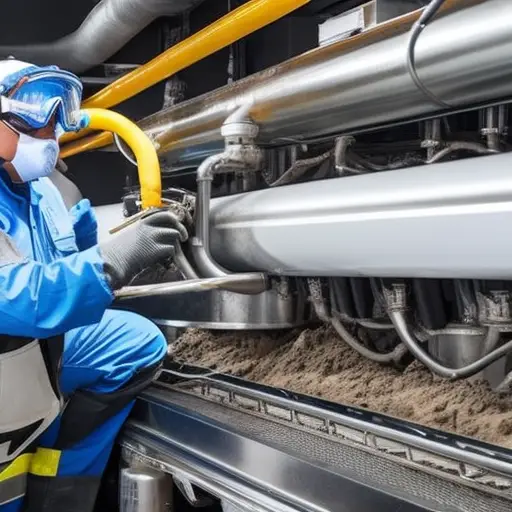
Seam Sealing and Rust Prevention
The integrity of the newly installed car panels can be effectively preserved through meticulous seam sealing and robust rust prevention techniques. To ensure a successful outcome, it is crucial to pay attention to the following key points:
-
Seam Sealing Techniques:
-
Use a high-quality polyurethane seam sealer that is specifically designed for automotive applications.
-
Apply the seam sealer evenly and generously to all welded or joined areas to prevent water and moisture penetration.
-
Smooth out the seam sealer with a specialized spreading tool to create a uniform and durable seal.
-
Rust Prevention Methods:
-
Prior to seam sealing, treat the metal surfaces with a corrosion-resistant primer to create a protective barrier against rust formation.
-
Consider applying a rust inhibitor or cavity wax inside enclosed areas and cavities to further safeguard against corrosion.
-
Regularly inspect the seam-sealed areas for any signs of damage or deterioration, and promptly address any issues to prevent rust from spreading.
By implementing these seam sealing techniques and rust prevention methods, you can effectively fortify the integrity of the replaced car panels and prolong the lifespan of your vehicle’s bodywork.
Moving forward, the next section will delve into the crucial aspects of priming and painting the newly installed panels.
Priming and Painting
For achieving a professional finish on the replaced car panels, the process of priming and painting is essential. Before starting, it’s crucial to ensure color matching for a seamless look. Once the replacement panel is properly prepared and primed, painting can commence. A clear coat application is the final step to protect the new paint and provide a glossy finish.
| Step | Description |
|---|---|
| Color Matching | Use color matching tools to find the exact paint color for the specific make and model of the car. |
| Priming | Apply an automotive primer to the replacement panel to ensure proper adhesion and a smooth paint finish. |
| Painting | Use an automotive spray gun to apply the matched paint to the panel, ensuring an even and smooth coat. |
| Clear Coat | Apply a clear coat to the painted panel to protect the new paint and provide a glossy, professional finish. |
Following these steps will result in a flawless paint job that seamlessly blends the replaced panel with the rest of the car’s body.
Final Touches and Inspection
To ensure the replaced car panels are seamlessly integrated and the paint job is flawless, a comprehensive final inspection and meticulous attention to detail are crucial. After the panels have been primed and painted, the final touches and inspection play a pivotal role in achieving a professional finish.
Here’s a checklist for the final touches and inspection:
-
Inspection Checklist
-
Carefully examine the newly replaced panels for any imperfections, such as drips, runs, or orange peel texture in the paint.
-
Check for color matching and ensure that the new panels blend seamlessly with the existing ones.
-
Inspect the overall paint job for any dust particles, debris, or uneven surfaces.
-
Final Touch Ups
-
Address any imperfections found during the inspection by sanding and repainting as necessary.
-
Perform any necessary blending of the new paint with the existing paint to ensure a seamless transition.
-
Polish and Protect
-
Once satisfied with the paint job, apply a high-quality automotive polish to enhance the shine and luster of the entire vehicle.
-
Finish off by applying a protective wax coating to safeguard the new paint and achieve a long-lasting, glossy finish.
Frequently Asked Questions
Can I Use a Different Type of Metal for the New Panel, or Does It Need to Match the Original Material?
The metal used for a new car panel should ideally match the original material to ensure compatibility and prevent rust in the long term. If a different metal is required, proper painting techniques and surface preparation are crucial.
How Can I Prevent the New Panel From Rusting in the Future?
To prevent rust on a new car panel, consider surface treatment methods such as priming, painting, or applying rust-inhibiting coatings. These measures create a protective barrier against moisture and oxidation, effectively safeguarding the metal and prolonging its lifespan.
Are There Any Special Considerations for Replacing Panels on Vintage or Classic Cars?
Restoring vintage or classic cars presents unique restoration challenges. Preservation techniques for these vehicles require special considerations due to their historical significance and originality. Careful panel replacement is crucial to maintain authenticity and value.
What Should I Do if I Encounter Unexpected Damage or Rust When Removing the Old Panel?
When encountering unexpected damage or rust while removing an old car panel, it’s crucial to assess the extent of the issue. Implement appropriate repair techniques and prioritize rust prevention to ensure the longevity of the new panel.
Is There a Specific Type of Primer and Paint That Works Best for Car Panels, or Can I Use Any Type of Automotive Paint?
When choosing the right primer for car panels, consider those designed specifically for automotive use to ensure proper adhesion and durability. Automotive paint options include enamel, acrylic, and urethane, each with unique characteristics suited for different applications.
Conclusion
In conclusion, the process of replacing car panels requires careful assessment, precise removal and installation, and thorough rust prevention and painting.
It is a meticulous and methodical task that demands attention to detail and a commitment to achieving a seamless finish.
By following the outlined steps and utilizing the necessary tools and materials, car owners can successfully restore their vehicle’s exterior and ensure its longevity on the road.